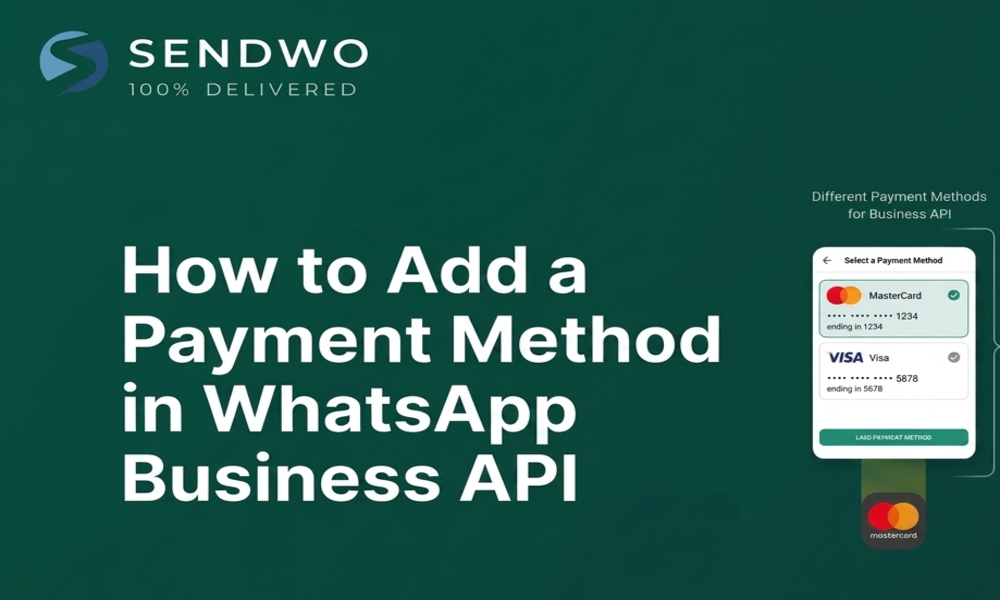
How to Add a Payment Method in WhatsApp Business API - 8 Easy Steps
Learn step-by-step how to add a payment method in WhatsApp Business API via Meta Business Manager.
 By Aditi Kamini
Published: April 29, 2026
8 min read
By Aditi Kamini
Published: April 29, 2026
8 min read
Learn step-by-step how to add a payment method in WhatsApp Business API via Meta Business Manager.
Imagine you’re all set to launch your first WhatsApp Business API campaign, only to discover your messages won’t send without Payment Method in WhatsApp Business API. It sounds like a hurdle, but it’s actually a quick setup step. WhatsApp Business API (now called the WhatsApp Business Platform) is a paid service – Meta charges per message category for your business conversations. Adding a valid credit/debit card in your Meta Business Manager (Business Settings) ensures your account stays active and you avoid service interruptions.
This guide (brought to you by SendWo, an official WhatsApp Business Solution Provider) walks you step-by-step through Add a payment method in WhatsApp Business API. We’ll cover why it’s needed, exactly how to do it in Meta’s interface, tips for smooth setup, and answers to common questions. Follow these steps to quickly link your card, verify business info, and start sending messages without interruption.
1. Why You Must Add a Payment Method
Meta’s WhatsApp Platform is a paid service. Every message category (Marketing, Utility, Authentication, Service) has a nominal fee when messages are delivered. Service conversations (like customer replies) are free, but promotional or utility messages will incur charges.Your WhatsApp campaigns depend on it. Without a valid Payment Method in WhatsApp Business API on file, Meta will eventually block sending non-free messages. In fact, SendWo notes that adding a payment method is mandatory to run campaigns beyond the free testing limits. Stay compliant and uninterrupted. Providing payment details (and legal business info) ensures your WhatsApp Business Account (WABA) is in good standing.
2. Prerequisites: What You Need Before Adding a Payment Method
Before you begin, make sure you have the following in place:
- Meta Business Manager account: You need a verified Facebook/Meta Business Manager that has a WhatsApp Business Account attached. (SendWo will guide you through creating and verifying your Business Manager if you haven’t already.)
- WhatsApp Business Account (WABA): Ensure your WABA is created under that Business Manager. If you set it up via SendWo, your account should be linked.
- Admin access: You must have Admin or Financer roles in your Business Manager so you can manage billing.
- Valid payment method: Prepare a credit or debit card (Visa or MasterCard preferred) that allows international and online transactions. Ensure it has sufficient limit.
- Business information: Have your official business details ready (legal name, address, phone, website, tax ID/GST). Meta will prompt you to fill these if missing.With these ready, you can Payment Method in WhatsApp Business API in a few clicks via the Meta interface. SendWo’s dashboard even provides a shortcut to launch this flow, but the process ultimately happens in Meta’s Business Settings.
3. Step to Adding Your Payment Method in WhatsApp Business API
Step 1: Log in to your Facebook account
- Open your browser and log in to your Facebook (Meta) account.
- In a new tab, search for “Facebook Business Manager” and open the official Meta Business Manager (or Meta Business Suite) page.
- This ensures you are in the correct environment to manage WhatsApp Business API billing and settings.
Step 2: Go to Business Settings and WhatsApp accounts
Once you are inside Meta Business Suite or Business Manager:
- Go to Business settings from the left‑hand navigation.

- Click On Business Info

- In the Business Info, find and click on WhatsApp accounts.

Step 3: Select your Whatsapp API Account
From the list, select the WhatsApp API account you created (not just a regular WhatsApp Business App).

- Click on Payment settings to proceed

Step 4: Billing and Payments
- On the right‑hand side of the screen, locate the option for Add Payment method.
- Click on Add Payment method to proceed.
- Meta will now redirect you to the Billing and Payments section, where you can manage how your WhatsApp usage is charged.

Step 5: Select country, currency, time zone, and card option
In the “Add payment method” flow:
- Choose the correct country, currency, and time zone according to your business location and billing preferences.
- Choosing the correct country, currency, and time zone helps ensure your invoices and charges appear correctly for accounting and reporting.
- Click Next to move to the card details screen

Step 6: Check that your card meets Meta’s requirements
Before you type your card details, confirm that your card is eligible:
- For payment type, select Credit or debit card as the payment method.
- Make sure international transactions are enabled on the card.
- Make sure online transactions are enabled as well.
- Use a Visa or Mastercard card, because Meta supports these card networks for payments.
If these features are not active, you should first contact your bank or update your card settings to enable international and online usage.
Turn this learning into your next WhatsApp campaign.
Start with Sendwo’s free plan, explore WhatsApp broadcasts, automation, AI chatbot flows, and upgrade only when your business needs more power.

Step 7: Enter your card details
On the card details screen, fill in the following information:
- Name on card – exactly as it appears on the card.
- Card number – the full card number printed on the front.
- Expiration date – month and year when the card expires.
- CVV/CVC (security code) – the three‑digit code, usually on the back of the card.
- Double‑check all the fields before proceeding, as any mistake can cause the card to be declined.

Step 8: Complete OTP verification
After submitting your card details:
- Your bank will send a one‑time password (OTP) to your registered mobile number.
- Enter the OTP in the verification screen to confirm the transaction and card ownership.
- Once the OTP is correctly entered and verified, your card will be successfully Payment Method in WhatsApp Business API account.
- Your card is now added to WhatsApp Business API
When the OTP verification is successful, Meta confirms that Payment Method in WhatsApp Business API is active. From this point, charges for your WhatsApp Business API usage (such as conversation charges) can be billed to this card, helping you keep your WhatsApp communication running without manual payment steps each time.
4. Confirming Currency, Thresholds, and Best Practices
- Double-check Currency/Location: Before saving your card, confirm the billing currency. For example, if you select India, your currency will be INR and GST rules apply. Once set, currency generally can’t be changed without reconfiguring the Business Manager.
- Message Fees & Thresholds: Remember Meta applies charges per message by category. Initially, a small billing threshold applies (e.g. you might get 1000 free conversation units on Cloud API) and then Meta starts billing your card. Monitor your spending in the Business Manager Billing section to see usage and invoices.
- Notifications: Meta will email invoices or send billing notifications to the account admins. Check that the business email on file is correct so you don’t miss any billing alerts.
- Stay Secure: Use strong authentication for your Meta account (enable 2FA) to keep your payment info safe. Only grant finance/admin roles to trusted team members.
By following these steps, Rahul (our example e-commerce merchant) was able to add his card via Meta’s interface in under 5 minutes. SendWo’s guided setup handles most of the clicks for you, but the billing setup itself always happens inside Meta’s Business Manager.
5. Troubleshooting Common Issues
- Card Not Accepted or Declined: If your card is declined, first ensure it’s international-enabled and has funds. Try another major card if needed. Verify that your name/address matches exactly as per the card. Some users found that switching networks (e.g. mobile data) or trying another browser helps if the page hangs.
- “Processing” or Stuck Loading: Sometimes the page hangs on processing. Try refreshing or using incognito mode. Clearing browser cache can help. A few users report success adding the card from a different device or network.
- Missing Payment Method Error: If WhatsApp Manager still says Payment Method in WhatsApp Business API” after you’ve saved one, check that you’ve clicked Save and confirmed any pop-ups. Also verify that the card shows up in the list and is set as primary. You may need to logout/login or go back to the page.
- Business Info Issues: If Meta asks repeatedly for business info, make sure all required fields are filled (especially legal name, address, and tax ID if applicable) and then save. Incomplete info will block the process.
- Contact Support: If problems persist, reach out to Meta Business Support or your BSP (like SendWo). We offer 24/7 assistance for paid plans to help resolve billing setup issues quickly.
FAQs
Q: Why do I need to add a payment method for WhatsApp Business API?
A: WhatsApp Business API (Meta’s Business Platform) is not free like regular WhatsApp. Meta charges per delivered message (except free service replies). Adding a credit/debit card in Business Settings lets Meta bill you after you exceed the free message threshold. Without a card on file, WhatsApp will prevent you from sending any paid messages or template notifications.
Q: How do I add or change my payment method for WhatsApp Business API?
A: Log in to Meta Business Manager, select Accounts > WhatsApp Accounts, pick your WhatsApp business account, and go to Settings → Payment Settings. Click Payment Method in WhatsApp Business API (or edit) and follow the prompts to enter a new credit/debit card. This is the official method for both adding and updating cards.
Q: What payment methods are accepted for WhatsApp API billing?
A: Currently, Meta accepts credit and debit cards (Visa, MasterCard, and certain others) for WhatsApp Business API billing. The card must allow international online charges. (As of 2026, options like UPI or PayPal are not supported for WhatsApp API billing.) If your card fails, try another major card or contact your bank to authorize international charges.
Q: Can I use a prepaid or virtual card?
A: Some users have success with prepaid cards, but Meta may require enough available balance and the ability to do 3D Secure/OTP verification. For reliability, we recommend a full credit/debit card.
Q: Do I need to add GST/Legal Info for Indian businesses?
A: Yes. Indian regulations require a GST number for WhatsApp Business API usage. In the Business Info section of your WhatsApp account settings, enter your legal business details and GST number. Meta will block your API if this information is missing.
Aditi Kamini
Aditi, a content marketer at SendWo, is a passionate writer and marketing enthusiast. She excels in driving revenue campaigns, building client relationships, and mastering content creation, SEO, customer service, and project management.


